History
Most of the nautical products exists because someone (who was not living on a boat) imagined a market for them.
My products are the opposite. Most of my projects were never intended to be commercial, but were born out of necessity because I, as someone who lives full time on a boat, desired them but could not find a satisfactory product in any shop.
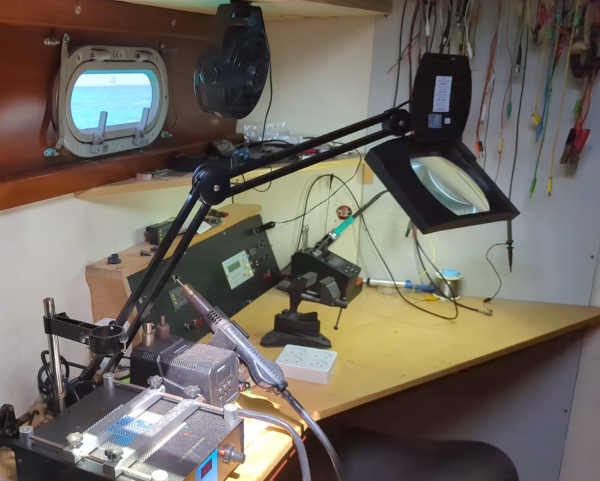
I wanted to have touch button light dimmers on the boat, couldn't find them on the market, so I designed my own DC light dimmer. I kept instructing guests that they had to flush the toilet long enough so the hoses would stay clean, until I cobbled together the flush robot that flushed the hoses automatically 5 minutes after the last toilet activity. The cooks often forgot to switch off the remote propane solenoid, so I built a timer to have it automatically switch off when it was left unattended for 30 minutes. I wanted my hot water heater to switch on automatically when the batteries where reasonable full, so I designed the hot water manager. I wanted the beverages fridge to shut down during the night and start up again as soon as the solar panels started working, so I built the Refrigerator Optimizer. The list kept growing.
Some friends asked me to duplicate some of my gadgets for them too. But hand building something with discrete components on a universal circuit board is fun for a prototype, but a time consuming and tedious process to repeat, so I after a few of these experiences I used a manufacturing plant to run some small production batches. This also gave me the advantage that I could replace my hand built prototypes with properly assembled circuit boards.
So here you have it, a bunch of unique products, designed and optimized by someone who actually lives full time on a boat, and knows from his own experience what works on a boat and what not.
Physical properties
One of the main properties of an electronic design is its casing. Some products are intended to be embedded into a panel, other products have a full casing around them and are intended as "wall mounted" units. Both have their merits and drawbacks, so I designed my products in such a way that you can mount them embedded as well as wall mounted.
Liquid Crystal Displays
For the displays I have chosen the good old Liquid Crystal Displays. I considered using OLED displays, but I decided against it as these displays have a limited lifetime, especially in hot, humid and bright environments. The good old proven LCD's however last a lifetime.
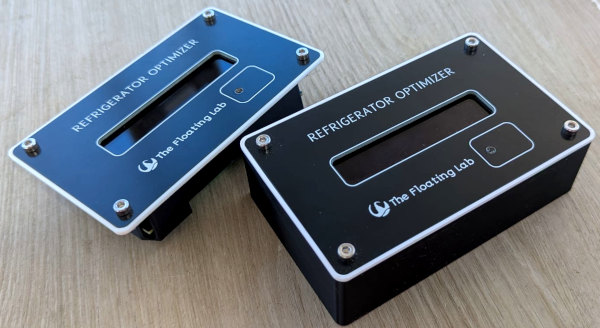
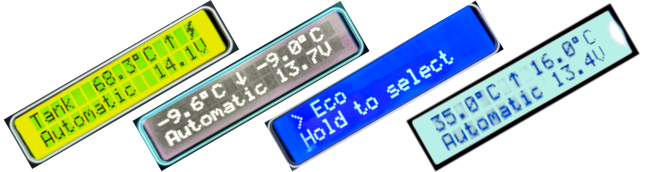
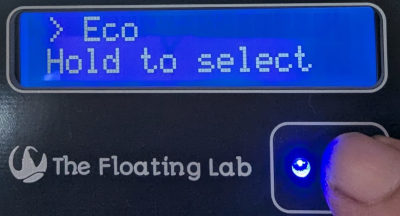
My personal favorite is the "black" display with "white" characters. They have a slight blueish/purple tint, depending on viewing angle and brightness, but they look great. They are a bit more expensive though.
Other choices are the well known green and blue LCD's. The green ones are the best readable and use the least power.
My products are by default equipped with a green LCD but I offer blue and black LCD's as alternatives.
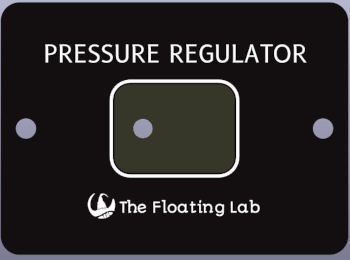
Touch buttons
Over the years I lived on board, I discovered that many electronic products fail at some point because one of the buttons becomes unreliable. It should not come as a surprise, after all it is a mechanical part with a limited lifetime, with an opening around it, often operated by wet salty fingers. And corrosion of contacts is a thing on seagoing vessels.
Another failure mode is that a push button, although it sticks through the front panel, is actually mounted on the circuit board, and every time you press that button, you put pressure on the circuit board, which bends the tinny copper traces and solder joints until metal fatigue cracks the connection.
So, in my designs I use touch buttons. They are waterproof, any pressure is released by the front panel instead of being transferred onto the circuit board, there is no corrosion of contacts because there are none, and there is no mechanical wear. These products should last a long time.
Style
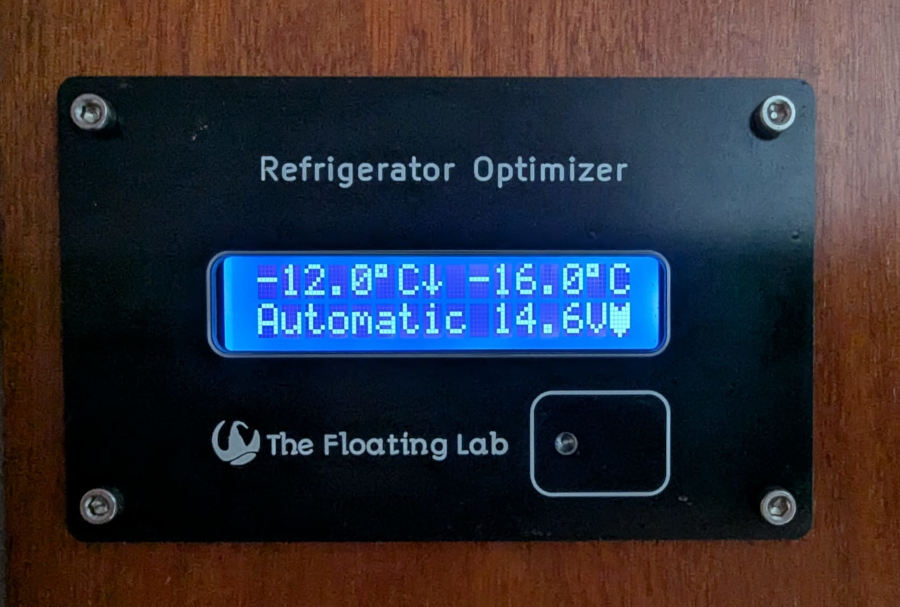
Style is a personal thing of course. My technical designs are robust and without unnecessary details and I wanted to have this reflected in the physical style. I also dislike the weird shapes and colorized front panels, as they look odd when mixed with different styles in existing panels. So, a flat panel, no distracting colors, no blinking lights unless it is functional, no concealed screws that turn the the thing into a disassembly puzzle, and only helpful information on the displays. My products should look ok in modern as well as classic panels.

Note that the font on the front panels (except for the logo) is the font that Airbus designed for use in their cockpits. How cool is that? If it is good enough for an Airbus cockpit, it ought to be good enough for your boat.
Open Source

Some of my projects are open source projects. Open source means sharing the entire project recipe with the rest of the world. Yes, this means that everybody can duplicate my design, and I even assist you in doing so!
Why open source?
- I used knowledge shared by others to learn what I needed to learn to create these projects. This way I forward the favor.
- I want you to trust these projects. Everyone with some technical knowledge can verify that my design is doing indeed what I claim it does, and is free of errors.
- There might be people who can improve and/or contribute to a project. That would be a win for all of us. At least my products would be an example of "how to do it right" for others who want to design their own product.
- Writing code is a piece of art, but usually nobody sees the code. I want to proudly show it to the world.
- I don't want anyone to file a patent for my (or similar) ideas. I hereby deliver proof of my concept and by this secure it for the future, free for all to continue to build upon.
- In the end, I still can benefit from these projects, because you might choose to buy a pre-assembled, calibrated and tested sample from me. Or one of my other electronic marine products. Or just simply buy me a beer.
My open source projects are being maintained on, and can be downloaded from git.thefloatinglab.world.
Then why are not all projects open source?
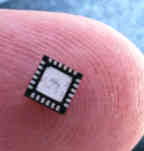
- Some of my projects contain microscopic parts that are impossible to hand solder, for which there exists unfortunately no DIY alternatives. It is not worth the effort to publish an open source project that nobody can duplicate or home build anyway.
- Some of my projects interface with other equipment via a proprietary protocol, which can not be disclosed.
Kit versions
If you have some basic technical knowledge and skills, like to tinker, but still want to end up with a tidy installation, buying a "kit version" might be the way to go. It is fun to build and you save some $$$ too. I know many cruisers live on a tight budget; Instead of paying someone to do the end assembly, I'm giving that money to you as a discount.
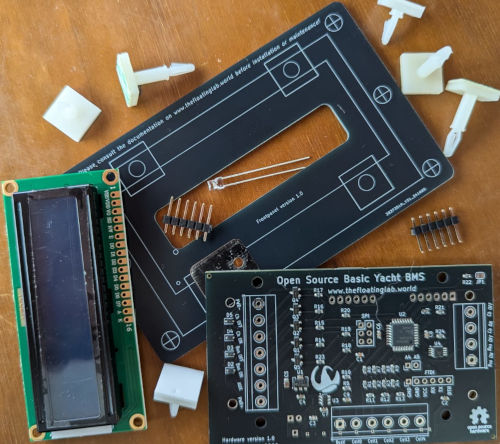
The kit contains the circuit board with all small (SMD) components already professionally soldered onto it, and all the necessary hardware like front panel, LCD, etc.
All you need to do is to attach the self adhesive mounting feet onto the marked positions of the panels, click the LCD onto the circuit board and solder its pins, solder the LED, attach the front panel, and you are ready to go.
I provide a detailed assembly instructions page for every kit. You might look at the associated page first to see what it entails to build the kit. See also the generic assembly instructions.
Typically, the screw terminals are not supplied in a kit version, as you might opt to solder all wiring directly onto the circuit board for more reliable connections, or want to use some multi pin quick connect connector instead. And my savings on the screw terminals is another reason why I can give you the discounted price for the kit.
If the project is an open source project, you will have to upload the software into the processor with the Arduino-IDE, but you can also order pre-installed firmware for a small extra fee. Of course you are free to modify the provided open source software if you wish so.
The processor is not yet programmed, and has no bootloader. To upload the necessary firmware into the processor, you need the (free) Arduino-IDE software and an SPI AVR dongle (sold separately). If this sounds like gibberish to you, please tick the "firmware pre-installed" option!